Pop the old glass and backing plate out, click the new one in. The whole job is twelve minutes once you know the angle to lever from.
Clip on wing mirror glass feels intimidating because you have to remove what is already there before fitting the new one. In reality it is a five minute job. The trick is the angle of the pry tool and remembering that the heated wires are still attached when the glass comes loose.
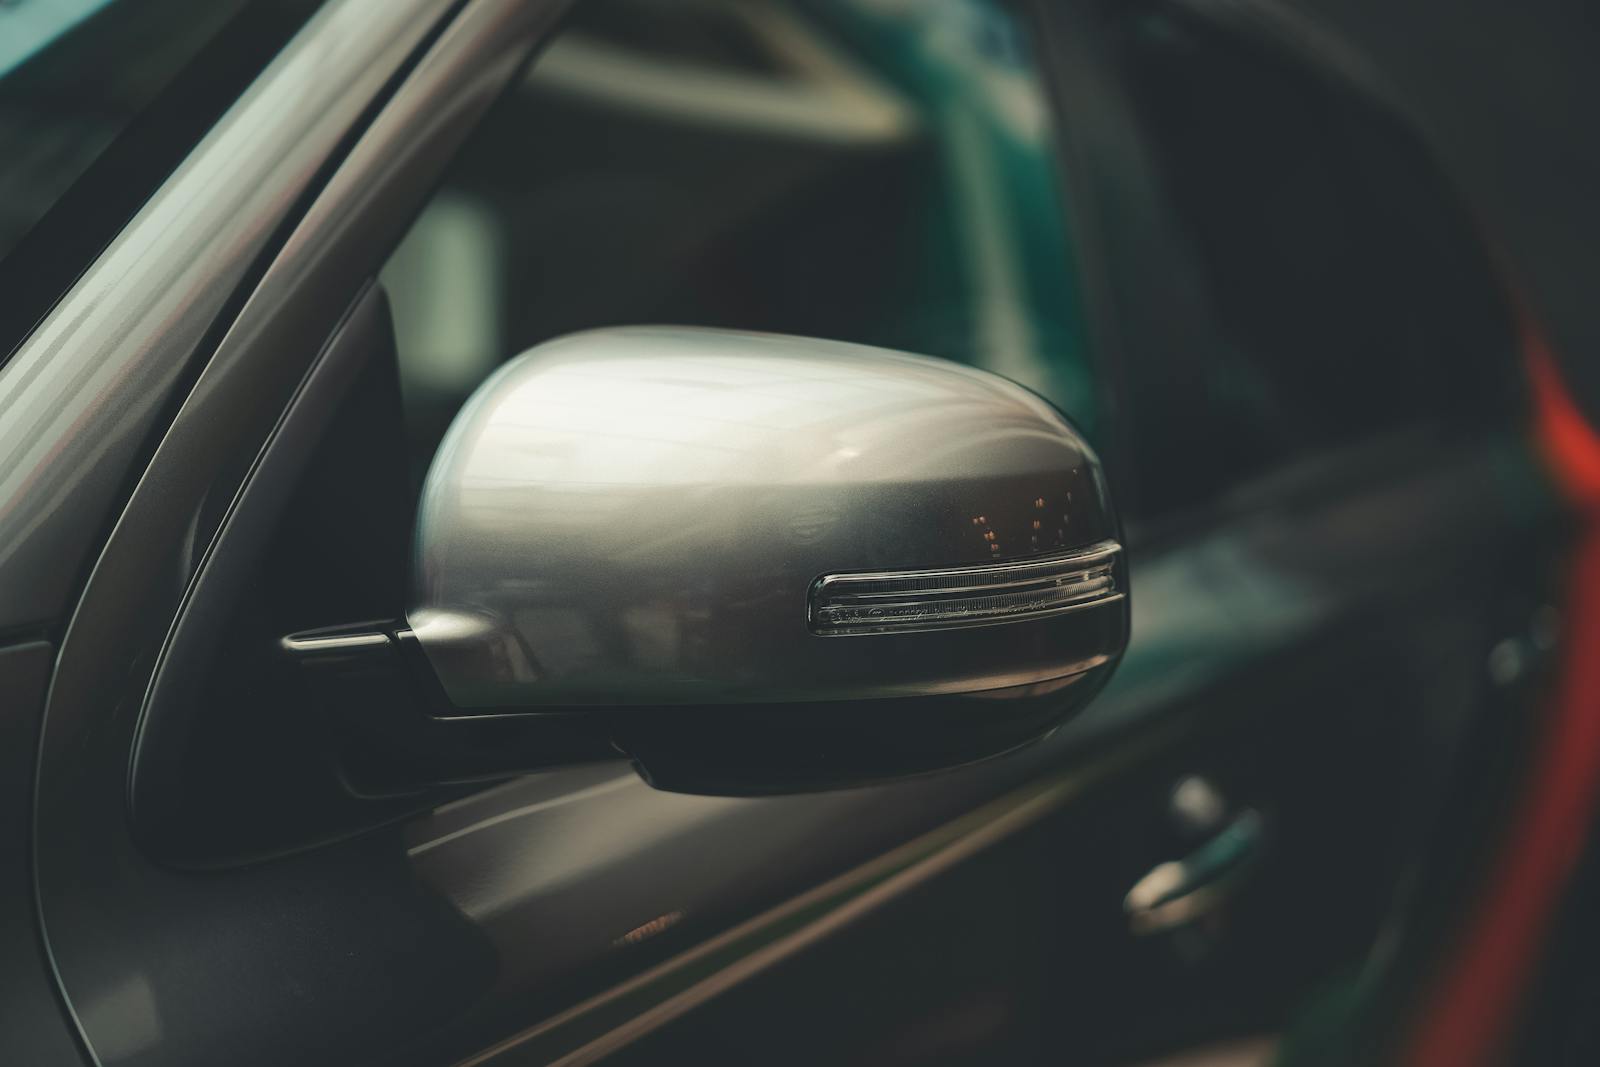
What you are looking at
A clip on glass sits on a plastic backing plate. The plate has anywhere from three to six locating tabs that lock into the mirror housing. When the glass is fitted from the factory, the plate clicks into position with an audible snap. To get it out, you reverse that motion by levering against the housing rim.
Tools
- A plastic trim removal tool, or in a pinch, a wooden lolly stick wrapped in a layer of microfibre
- A microfibre cloth to drape over the housing, protecting the paint
- Gloves, mostly so you do not slice a finger on a broken edge
The housing is painted plastic. A steel tool will gouge it through any rag you wrap around it. Plastic trim tools cost about three pounds for a set of five from any motor factor and they last for years.
Step one, tilt the mirror outwards
Use the in cabin mirror adjustment to angle the glass so the bottom edge sits proud of the housing and the top sits flush with the rim. This opens a gap at the bottom that your tool can fit into. Manual mirrors, push the glass in by hand to achieve the same.
Step two, get the tool under the bottom edge
Slide the plastic trim tool under the bottom edge of the glass between the glass plate and the housing rim. Once it is fully seated, twist or pull gently. You should feel the first one or two clips pop free. The glass will not come away yet because of the wires and the other clips, that is normal.
Step three, work side to side
Move the tool to one side and pop the next clip. Then the other side. Last, the top. By the time you reach the top clip, the glass will be loose in your hand. Two thin wires connect the heating element to the housing. Pull each wire off the spade tag using gentle finger pressure. They are not soldered. They are a simple push fit.
Step four, fit the new one
Connect the two heated wires to the new backing plate first. The polarity does not matter, it is a resistor not an LED. Then offer the backing plate up to the housing with the top tabs first. Push the bottom in last. The clips will engage with a clean click each. You are looking for an even all round seat. If one corner stands proud, lift it back out, check the wires are tucked behind, and refit.
The two faults that catch people out
- The mirror is loose on the first day. One clip is not seated. Pop it back out, identify the loose corner, re seat with the heel of your hand.
- The heating does not work. One of the spade connectors is corroded or one wire fell off during the swap. Open the door, look behind the glass, refit both connectors.
The whole job, start to finish, is twelve to fifteen minutes once you have done one before.